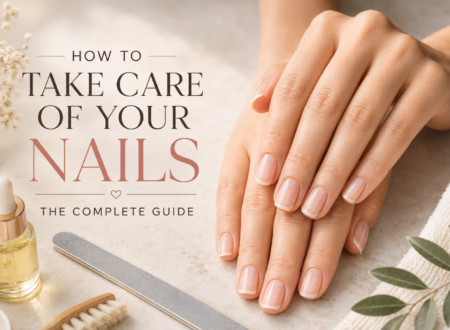
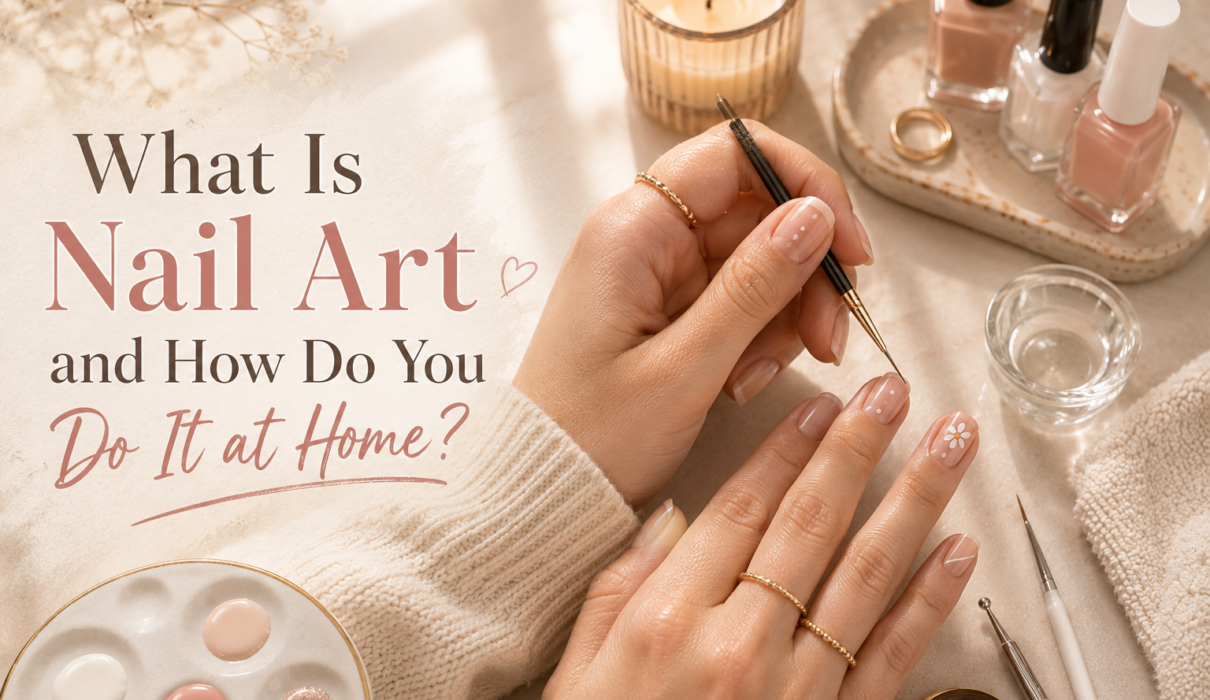
Nail art is the practice of decorating fingernails or toenails with colors, patterns, textures, and embellishments beyond a single coat of polish — think stripes, gems, chrome finishes, or hand-painted designs. You can create simple nail art at home in under 30 minutes using polish, a thin brush, and a few basic tools, or go more advanced with gel systems, foils, and 3D charms. This guide walks you through exactly how to do it, what tools you need, which designs work best for beginners, and what’s trending in 2026.
What Is Nail Art, Exactly?
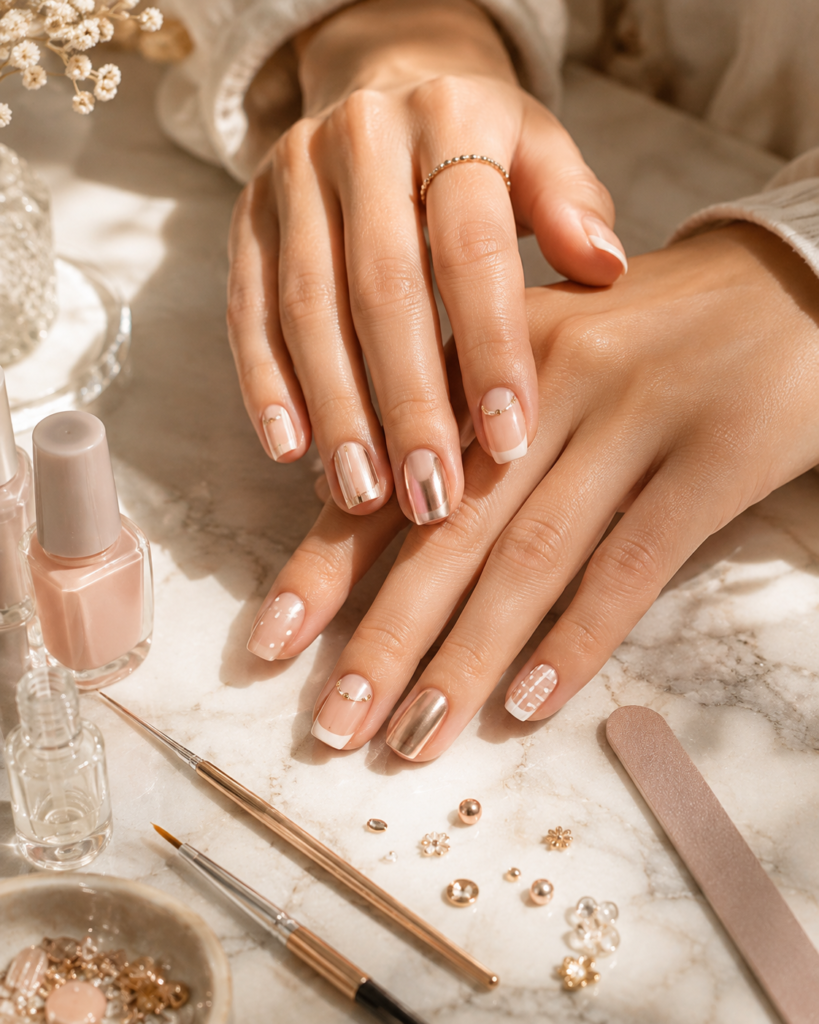
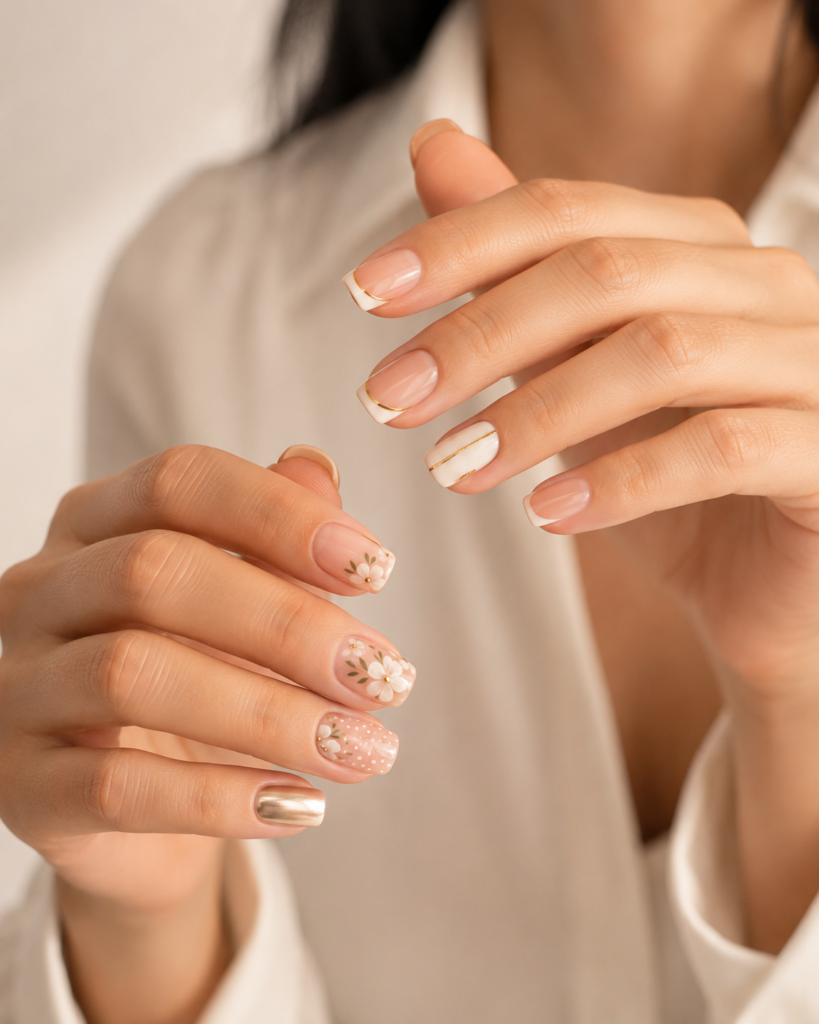
Nail art is any technique used to turn a plain manicure into a designed one. It ranges from minimalist (a single accent nail, a thin gold line, a subtle French tip) to maximalist (3D charms, hand-painted florals, multi-layered chrome). It’s practiced both by professional nail technicians in salons and by hobbyists at home, and it’s grown into its own beauty category with dedicated tools, communities, and seasonal trend cycles — much like makeup or hair color.
The appeal is simple: nails are a low-commitment, high-visibility way to express personal style. Unlike a haircut or a tattoo, a nail art design can be changed every one to three weeks.
What Tools Do You Need for Nail Art at Home?
You don’t need a professional kit to get started. Here’s what actually matters.
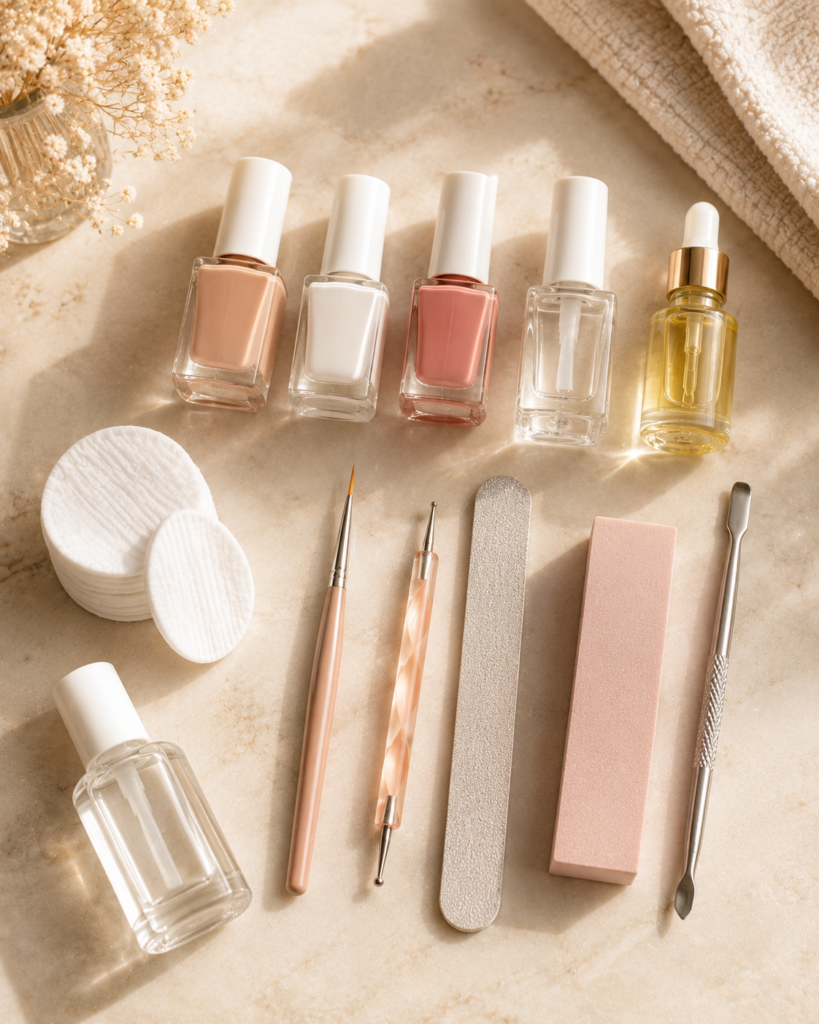
Essential beginner kit
- Base coat and top coat – protects nails and seals the design so it doesn’t chip
- 2–3 polish colors – start with a neutral, a bold accent, and white or black for detail
- A thin detail brush – for lines, dots, and small shapes (a size 000 or 00 works well)
- A dotting tool – for polka dots, flowers, and simple patterns (a bobby pin tip works in a pinch)
- Nail file and buffer – for shaping and prepping the nail surface
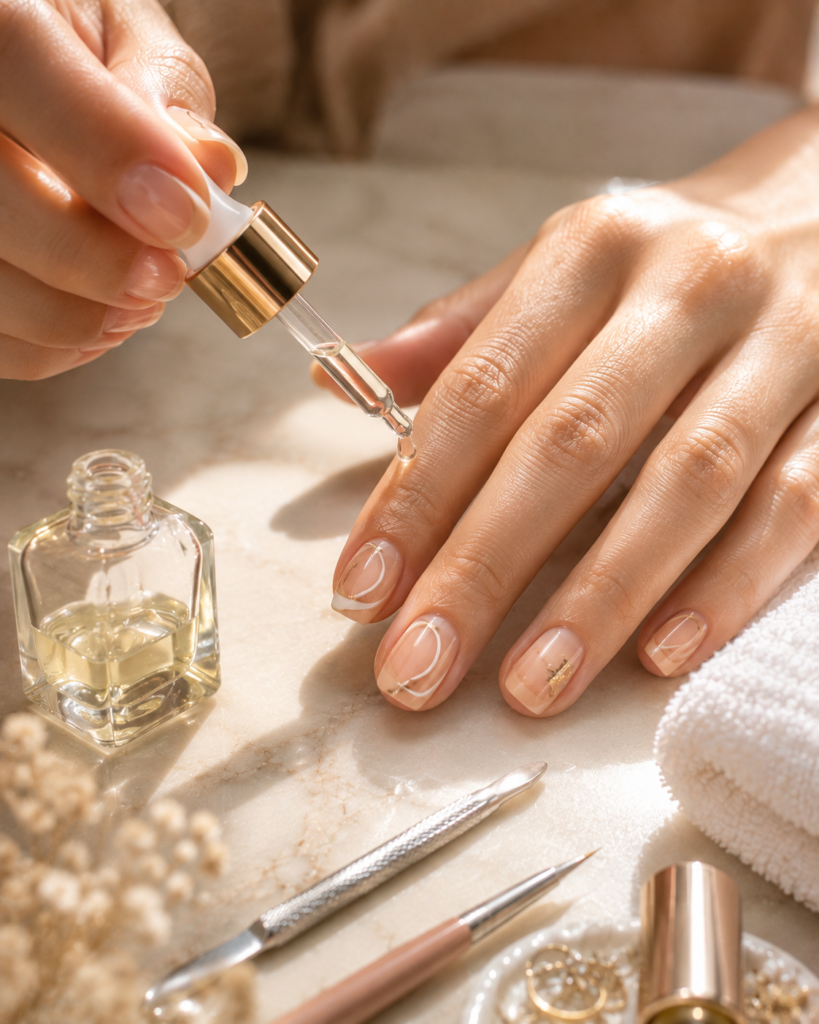
- Cuticle pusher and oil – for clean edges and nail health
- Rubbing alcohol and cotton pads – to clean the nail before painting so polish adheres properly
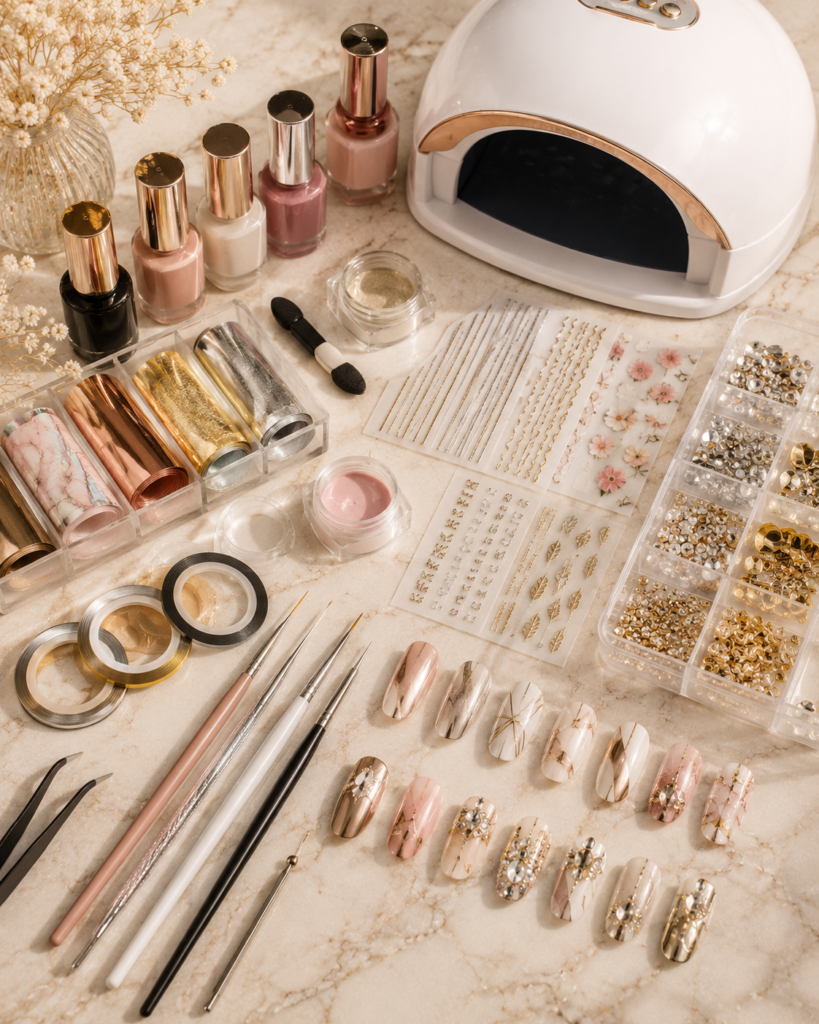
Nice-to-have tools for advanced looks
- Striping tape – for crisp geometric lines
- Nail foils and foil glue – for the metallic, crumpled-foil effect
- Chrome powder and an applicator sponge – for the mirror or “glazed” finish
- UV/LED lamp – required if you’re using gel polish, which lasts longer than regular lacquer
- Rhinestones, charms, or press-on decals – for texture and dimension without freehand painting
Budget tip: A basic beginner kit runs about $20–$40 in the US, UK, or Canada. A full gel setup with a lamp typically costs $60–$120, compared to $40–$90 per salon visit for elaborate designs.
How Do You Do Nail Art Step by Step?
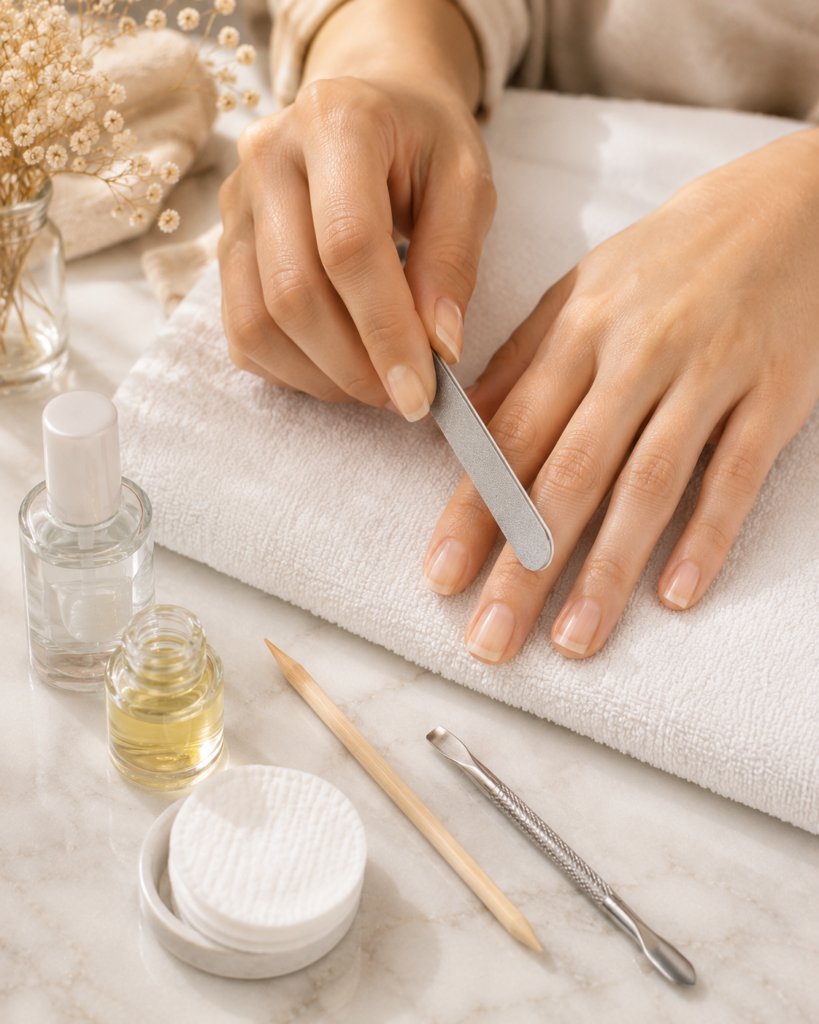
Prepping your nails
- Remove old polish completely with acetone or non-acetone remover.
- File nails into your preferred shape (square, round, almond, or coffin).
- Push back cuticles gently — don’t cut them unless you’re trained to, as this raises infection risk.
- Wipe each nail with rubbing alcohol to remove oil and residue. This step is the one most beginners skip, and it’s the biggest reason polish chips early.
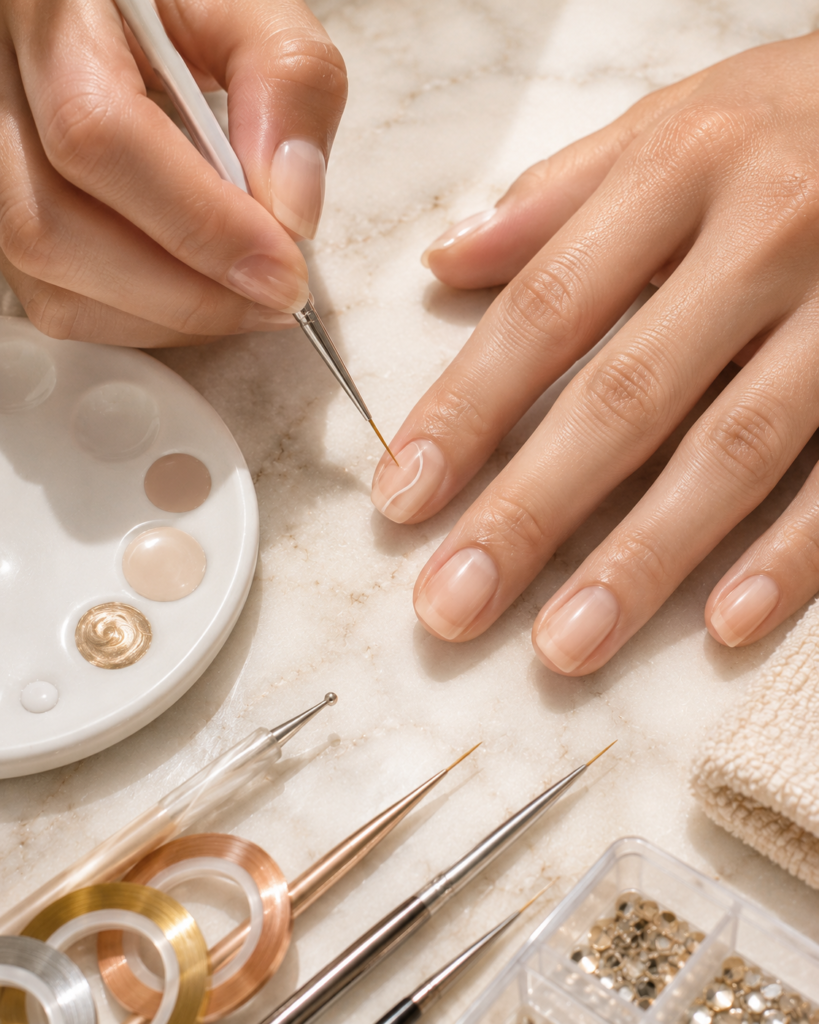
Applying base designs
- Apply a thin base coat and let it dry fully (60–90 seconds).
- Apply your base color in two thin coats rather than one thick coat — thin coats dry faster and last longer.
- Once the base color is fully dry, add your design using a detail brush, dotting tool, tape, or decals.
- Let each design layer dry before adding the next one to avoid smudging.
Sealing and aftercare
- Apply a top coat over the entire nail, including the tip, to lock in the design and add shine.
- Let nails cure for a full 10–15 minutes before touching anything (or under a lamp for 60 seconds if using gel).
- Apply cuticle oil daily afterward to prevent lifting and keep the polish looking fresh longer.
What Are the Easiest Nail Art Designs for Beginners?
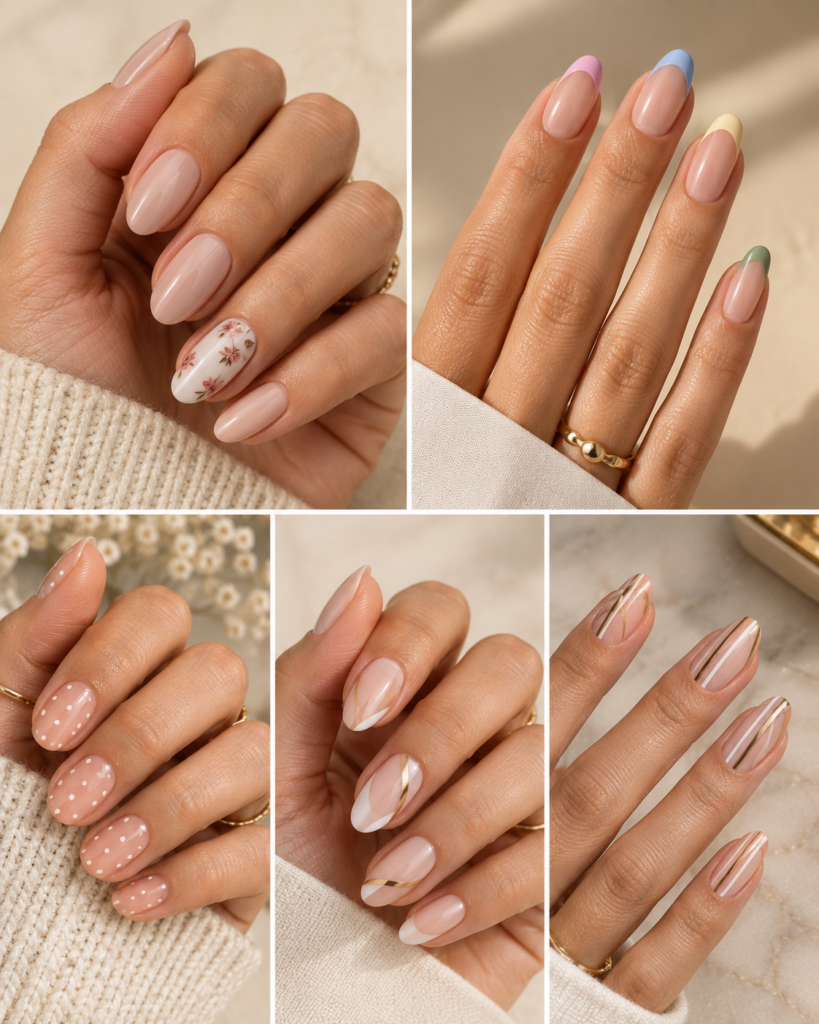
If you’re new to nail art, start with designs that use tape, dots, or one accent nail rather than freehand painting:
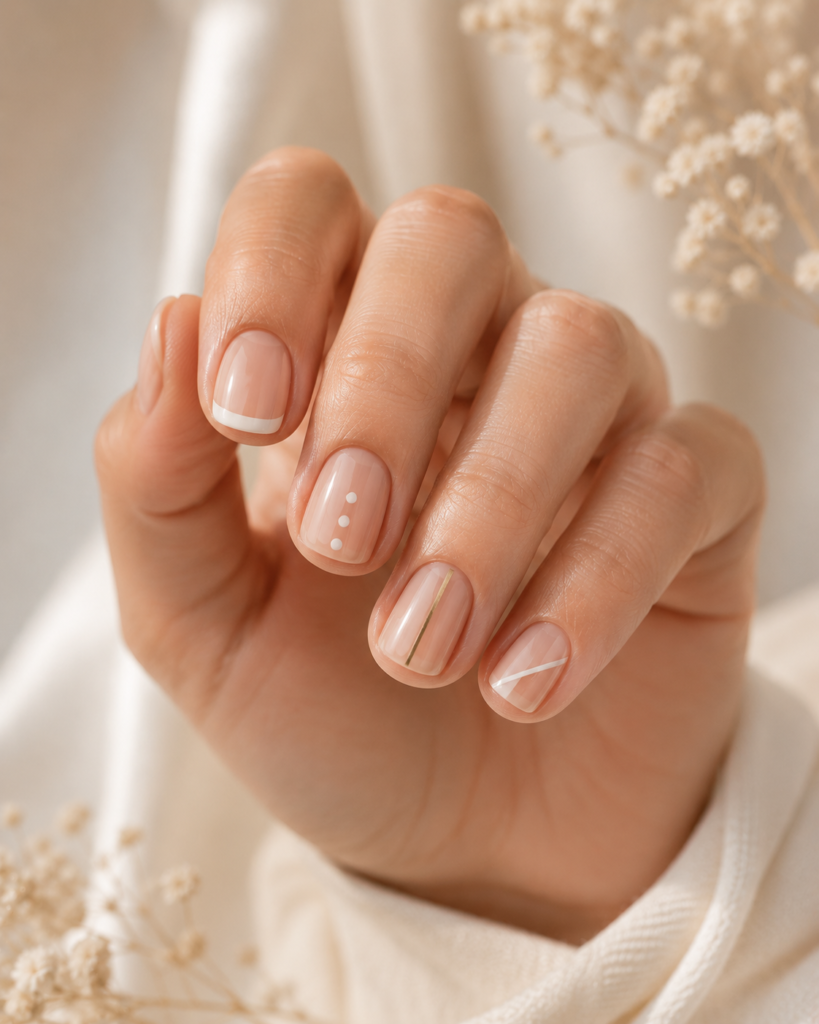
- Accent nail – paint one nail (usually the ring finger) a different color or pattern than the rest
- French tip variations – swap the classic white tip for a colored or metallic line
- Polka dots – made entirely with a dotting tool, no brush skill required
- Negative space designs – leave part of the nail bare for a modern, minimal look
- Striped tape manicure – use striping tape to create clean geometric lines without freehand precision
What Nail Art Trends Are Popular in 2026?
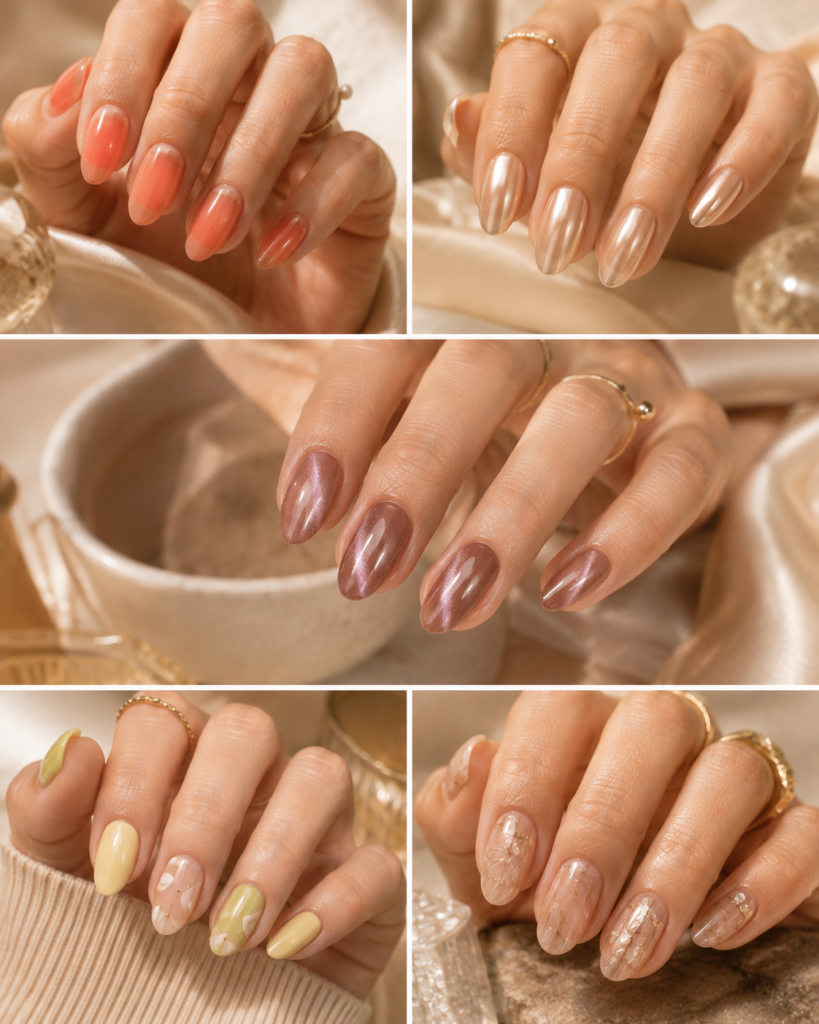
Nail trends this year lean into what stylists are calling “refined maximalism” — more texture and dimension, but still wearable. Key looks include mixed finishes, sheer shades, and delicate textures replacing the minimalist phase that dominated recent years. Specific trends gaining traction:
- Jelly manicures – sheer, glossy, translucent shades like peach, coral, cherry, or milky pink that give a juicy, lip-gloss-on-nails effect
- Neutral chrome nails – natural, “your-nails-but-better” shades with a sheer chrome finish that reads clean and luxurious rather than flashy
- Cat-eye nails – a velvety finish with light-catching sheen that continues to hold strong seasonal demand
- Soft, edible-inspired colors – think butter yellow, pistachio green, sea-glass blue, and coconut white tones
- Layered, textured looks – nail artists are combining multiple finishes on one nail rather than sticking to a single effect
What Are the Most Common Nail Art Mistakes — and How Do You Fix Them?
Most beginner nail art problems come down to a handful of repeatable issues. Here’s how to troubleshoot them.
- Polish smudges before it dries. This usually means the coats are too thick. Fix it by applying thinner layers and waiting the full dry time (60–90 seconds) between coats instead of rushing.
- Design looks patchy or streaky. This happens when the base color isn’t fully cured before you add the design on top. Let the base color sit for a full 2–3 minutes, not just until it looks dry to the eye.
- Top coat drags the design and blurs lines. Apply the top coat in one light, even stroke rather than going back over the same area twice — repeated brushing while the polish is wet is what smears fine detail work.
- Nail art chips within a day or two. This is almost always a prep issue. Oil, lotion, or moisture left on the nail bed prevents polish from bonding. Wipe nails with rubbing alcohol immediately before painting, not hours before.
- Rhinestones or charms fall off. Regular top coat isn’t strong enough to hold embellishments long-term. Use a dedicated nail glue or a thick “gem” top coat formulated to anchor 3D elements.
- Gel polish peels instead of chipping. This typically means the nail wasn’t properly dehydrated and primed before the base gel coat, or the layers were cured too briefly under the lamp. Follow your gel brand’s exact cure times.
How Do You Keep Your Nails Healthy While Doing Nail Art?
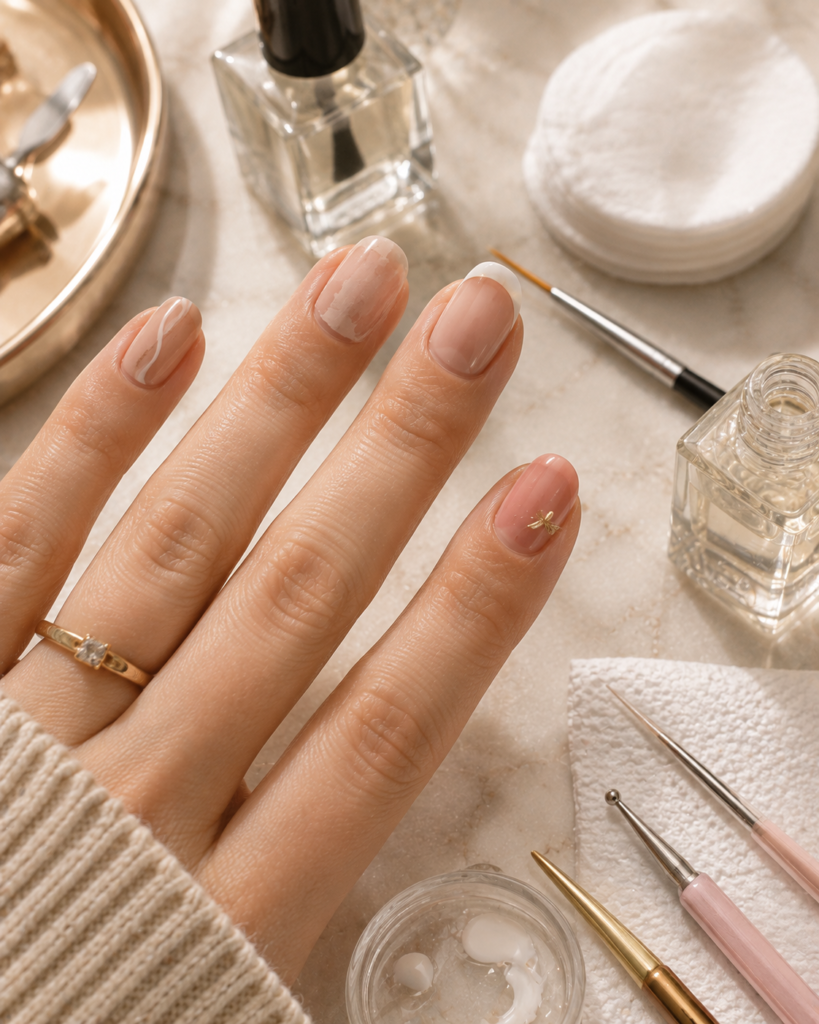
Nail art is a cosmetic layer, but what’s underneath it matters just as much — and it’s a step most guides skip entirely.
- Don’t skip breaks between gel or acrylic sets. Continuous gel or acrylic wear without a break can thin and weaken the natural nail over time. Nail technicians commonly recommend a short break (about a week) after every two to three gel fills.
- Never peel off gel, acrylic, or dip powder. Peeling removes layers of the natural nail along with the product, leaving nails thin, flexible, and prone to breaking. Always soak off with acetone instead.
- Watch for signs of overuse. White patches, peeling layers, or unusual softness after removal are signs your nails need a recovery period — ideally with cuticle oil applied daily and a plain protein-based base coat instead of new art.
- Moisturize the cuticle, not just the nail. Cuticle oil with jojoba, vitamin E, or almond oil keeps the skin around the nail flexible, which reduces lifting and extends how long your art lasts.
- Choose “10-free” or “5-free” polish where possible. These formulas skip common irritants and harsher chemicals like formaldehyde, toluene, and DBP, which matters if you do nail art frequently or have sensitive skin.
Can You Do Nail Art on Short or Weak Nails?
Yes — and it’s actually one of the more underserved topics in most nail art content, since most tutorials assume long, strong nails.
- Short nails: Simple designs read better on shorter nail beds. Negative space, single accent lines, small dots, and micro-French tips all work well without looking cramped. Avoid busy, multi-element designs that need more surface area.
- Weak or brittle nails: Stick to regular polish or a gentle “builder gel” base rather than harsh acrylics, which require more aggressive filing and can stress already-thin nails. A ridge-filling base coat also helps polish sit more evenly on textured or weak nail surfaces.
- Bitten nails or uneven nail beds: Press-on nails or soft gel extensions can provide a smooth, even canvas for nail art while the natural nail grows out and strengthens underneath.
- Sensitive skin around the nails: Avoid nail art techniques that involve extended soaking in acetone (like heavy foil or full gel removal) too frequently, since repeated exposure can dry out and irritate the surrounding skin.
How Long Does Nail Art Last?
- Regular polish nail art: 5–7 days before noticeable chipping
- Gel nail art: 2–3 weeks with proper application and a UV/LED lamp
- Dip powder or acrylic-based art: 3–4 weeks, though it requires soaking off rather than simple polish remover
- Press-on nail art: 1–2 weeks with proper adhesive, removable without damage
Nail longevity depends heavily on prep (oil-free nails), thin coat application, and daily cuticle oil use — not just the product itself.
Salon vs. DIY: Which Should You Choose?
| Factor | DIY at Home | Professional Salon |
|---|---|---|
| Cost | $20–$120 one-time kit cost | $40–$90+ per visit |
| Time | 30–60 minutes per manicure | 45–90 minutes per visit |
| Skill ceiling | Great for simple to moderate designs | Best for intricate 3D, airbrush, or sculptural work |
| Longevity | Shorter unless using gel systems | Typically longer with professional-grade gel/acrylic |
| Best for | Budget-conscious, frequent style changes | Special occasions, complex designs, weak or damaged nails |
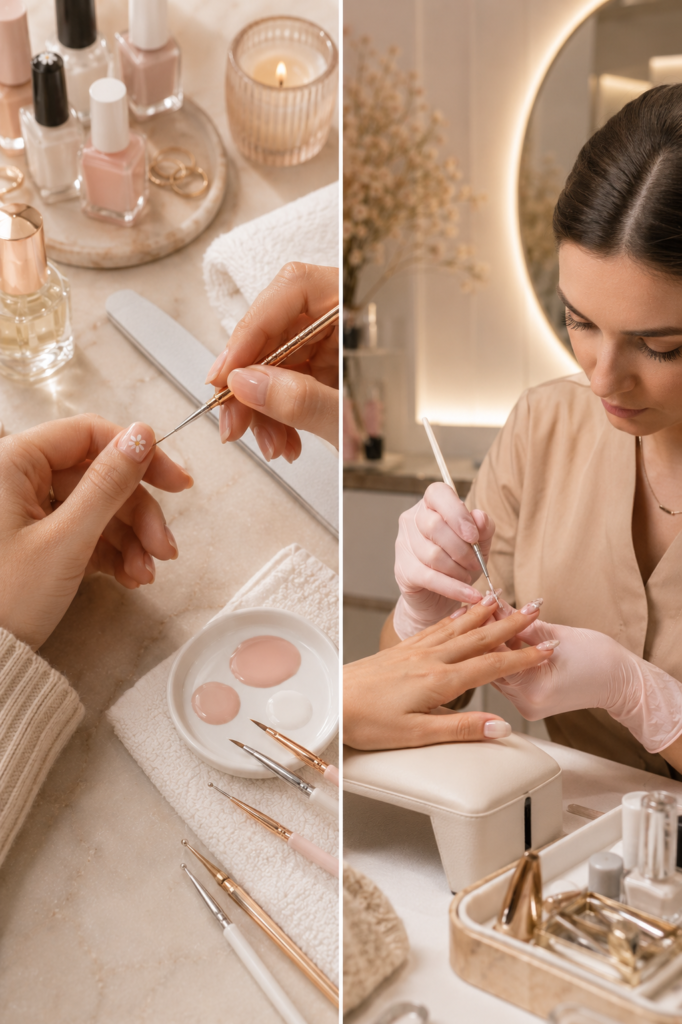
If you’re just starting out or want to change your look weekly, DIY makes more sense financially. If you want intricate 3D art, hand-painted murals, or have nail health concerns, a licensed technician is worth the cost.